Hexagon Measurement SystemsNo matter what Hexagon measurement equipment or software you use, we want to hear your ideas and suggestions on how we can improve.
Thanks for your assistance in helping us shape the future. |
|

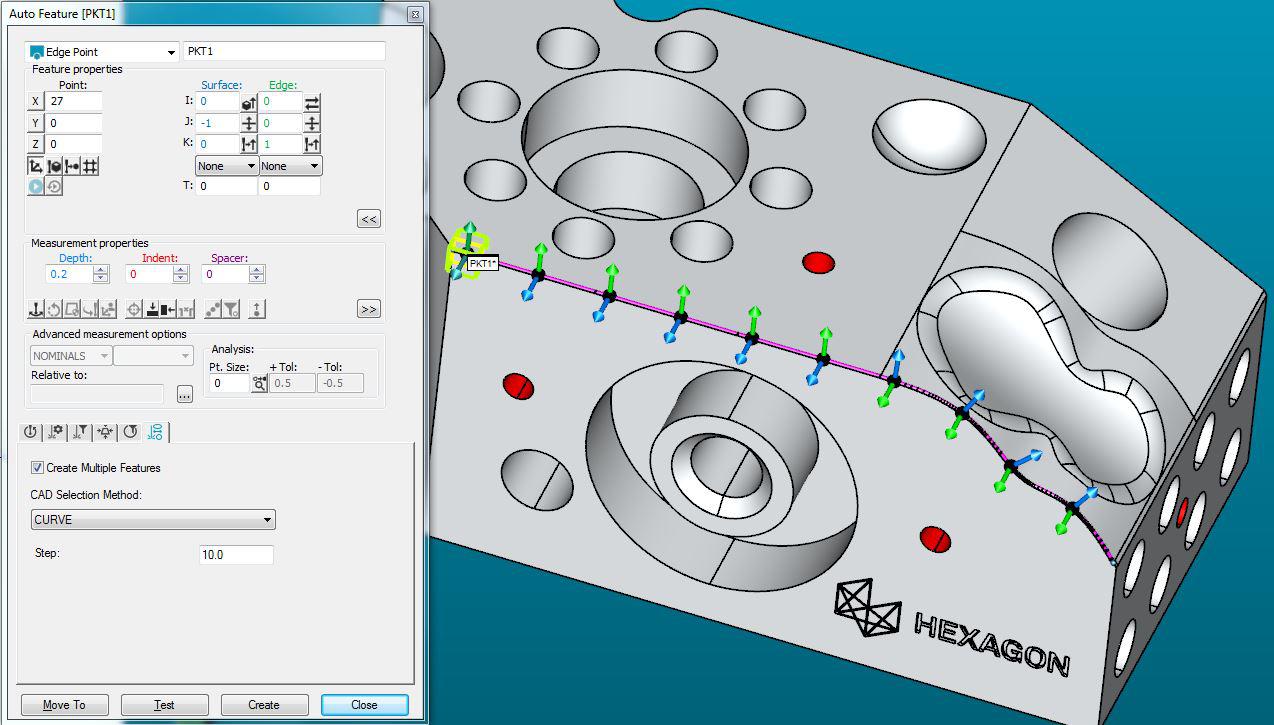
 Multiple Creation of Auto Feature EdgePoint with tactile sensors.
The new function “Laser AF Multiple Creation” (usable in PC-DMIS 2018 R1 for Laser-AutoFeature EdgePoint) is a very simple solution to create multiple edge points on a part.
At the moment we can create a perimeter scan and use this to create multiple edge points.
If we add a possibility at the tactile AutoFeatures it will be very easier to create multiple edge points. I think we can use the same window as on the Laser-AutoFeature EdgePoint.

 Allow PC-DMIS to remain open behind inspect after routine finishes
The reason for this is when working with an Optiv 321 GL the controller is embedded so anytime the PCDLRN.exe is stopped the machine needs to re-home so having to wait for the machine to home every single time we want to run a new routine is a real hassle.

 Match/Highlight fields to bubble markers in graphic display
Example, have the ability to click on the LRA, CLRA, TP data field in each row to zoom or highlight the respective nodal bubble marker displayed in the tube graphic. This can be handy when inspecting and finding out of tolerance values, to look up where that corresponding value might be located on the tube in the graphic display.

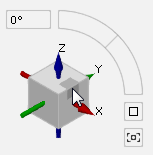
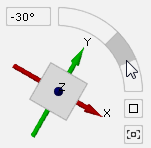
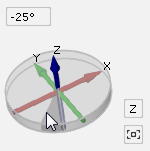
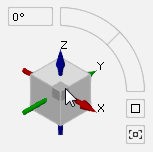
 Rotation Widget develop
It would be great if develop this useful option, because at the moment only you can use for coordinate axis arrow, but I use GOM Inspect where I can use edges, corners of this cube.
Additional 2D rotation around actual view is also possible. It would be great that this will be work in pc-dmis too..

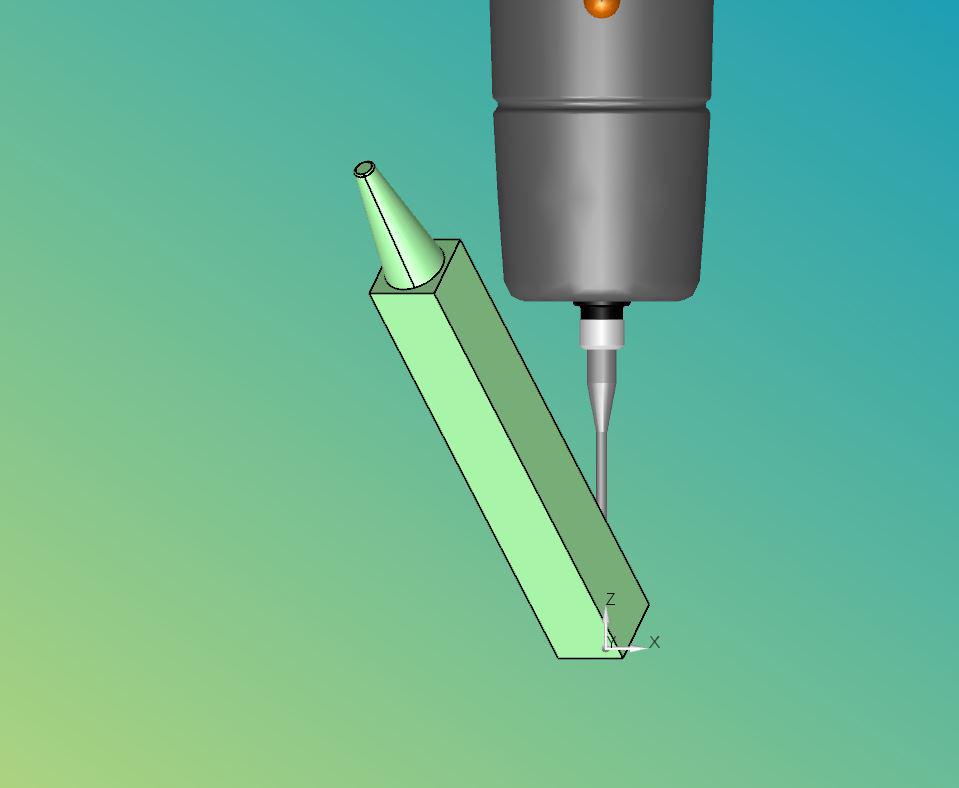
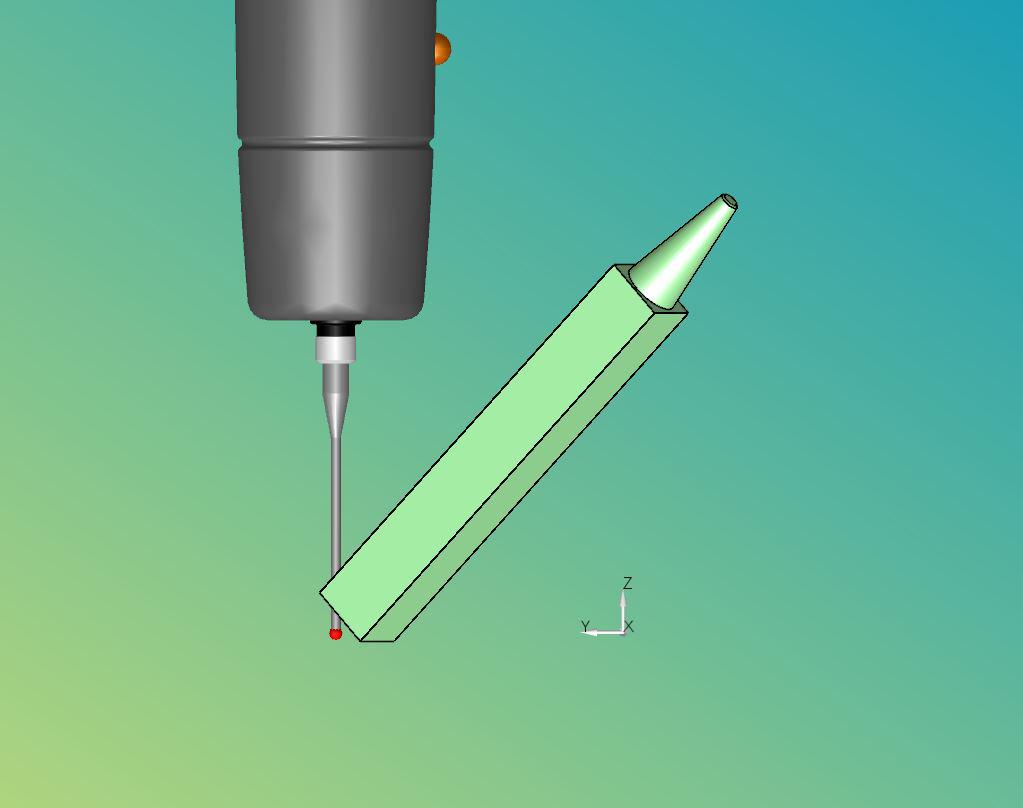
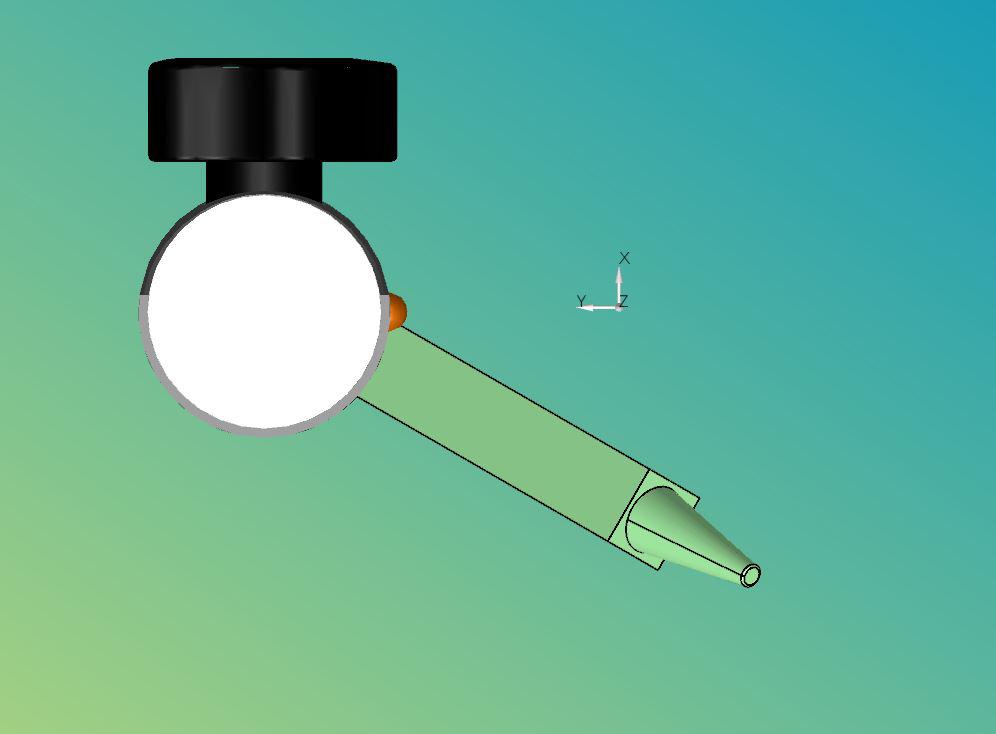
 Better manipulation of CAD model in rotating
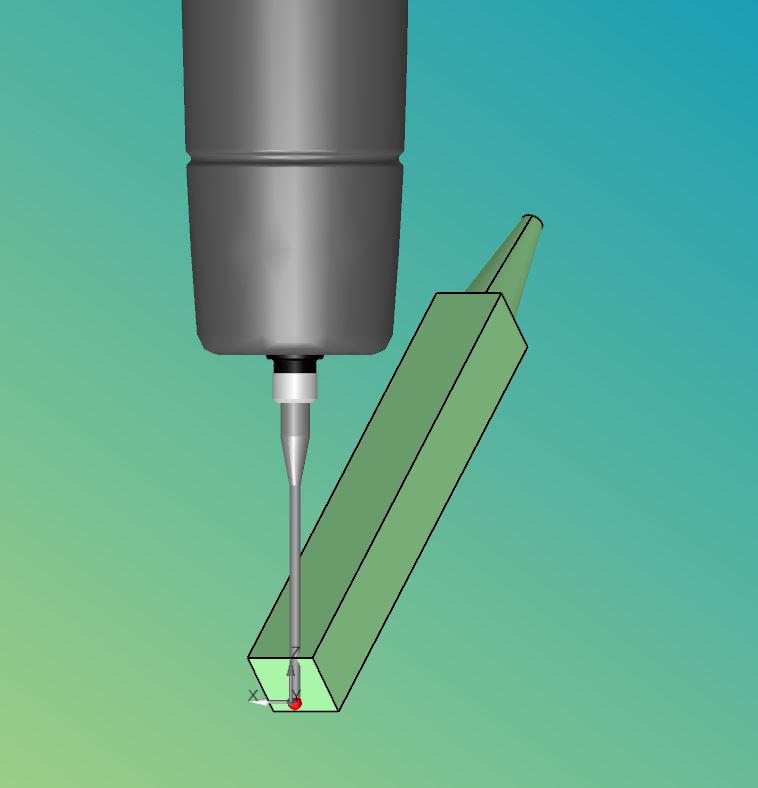
Sometimes when I import cad model, in this case, some electrode, that model is in space, rotated on all axis. It's very hard to get every angle by measuring planes and rotating model from Transform window. There should be some option to easily rotate model.
I don't have particular idea how that can be achieved but I think the idea is clear enough.
Here are some examples on how CAD looking now.

 listing from the elements confusing
the list from the elements are confusing, when you select this. Than you have this selection
1 / 11/ 12 / 13 / 2 / 21 / .....
That is a confusing and you need more the last elements when you will some measurements.

 grouping work not accurate
When I make a new group and begin the measurements, the first element is in the group but the second element is outside the grouping.
Can you make this so, that all elements jump in the last grouping, currently we most select after the measures all elements and than we can make a group (that is complicated when you have 30 or more elements).

 elements / grouping easy to fade out
We use this program for big first samples with many elements that is reason we work with groupings. But when we will some measurements we don´t need all elements and we fade out some elements. But currently we must select a single element and than we most go in the options to fade this out.
Please make this process simple.
Customer support service by UserEcho


